 Ford Model A -
Early 1930 Town Sedan
Restoration Project
Ford Model A -
Early 1930 Town Sedan
Restoration Project
Ford Model A
Early 1930 Town Sedan
Briggs Body
Assembled around April 1930 in
Asnieres, France
Engine number 278 6714
Located in Germany
Start of Restoration in 2006


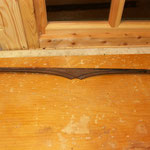
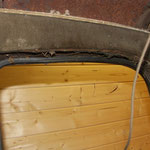
Interior
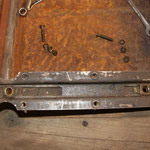
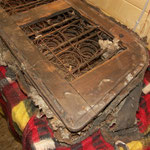
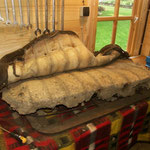
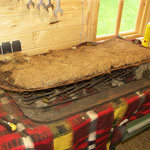
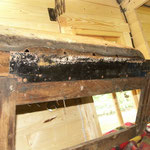
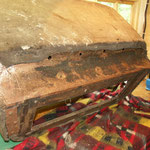
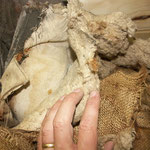
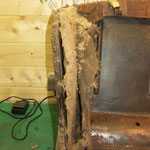
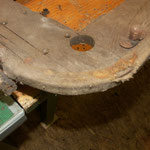
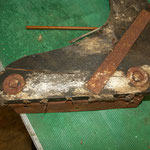
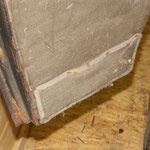
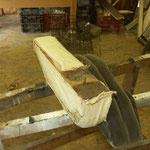
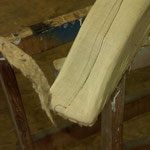
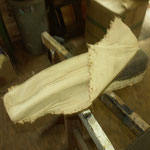
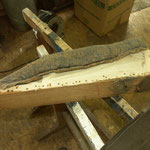
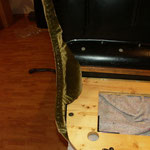
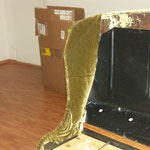
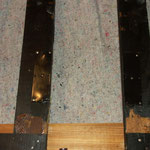
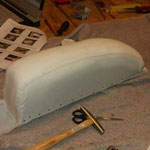
The interior has been disassembled. Parts of the hardware were missing. A used back seat could be bought at ebay. The interior wood of the seat had partly to be replaced. The plated hardware was not filled but only replated, to keep the authentic apearence.(see bottom of page, 31st May 2013)
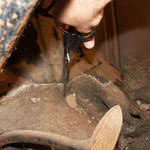
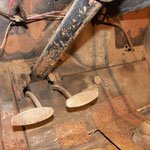
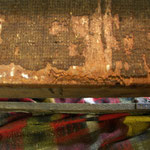
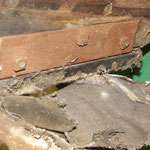
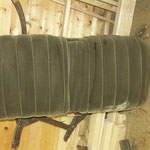
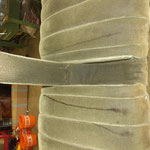
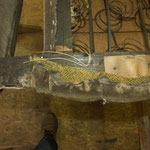
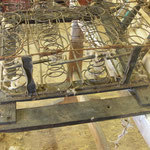
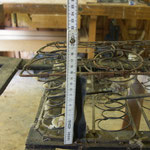
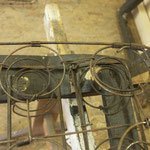
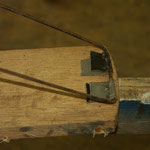
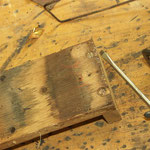
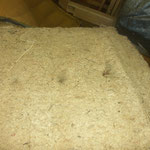
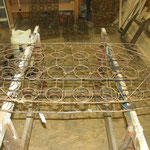
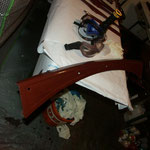
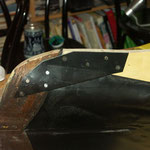
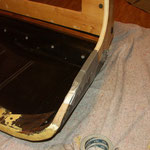
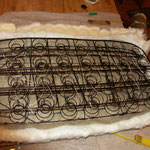
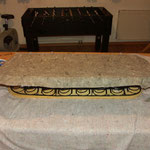
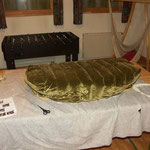
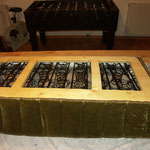
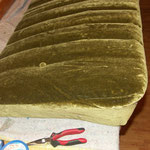
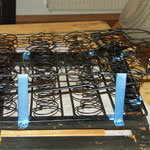
The seat springs have been treated wirth "Fertan" rust converter and painted with branth 3 in 1.
All interior is finished, less the mahagony woodgraining and the upholstery.
January 4th 2014
Mahagony woodgraining is finished. Assist straps restored. Pictures see bottom of page. Some more pictures added an January 26th, especially the comparison bewtween what we think orignal woodgraining and our try.
November 18th
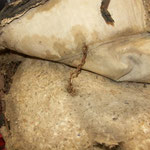
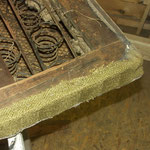
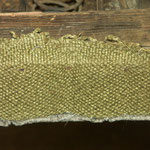
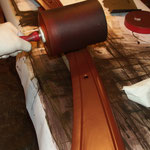
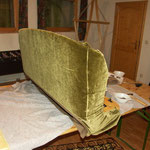
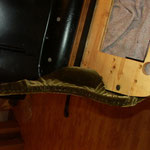
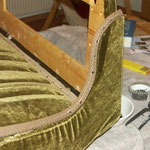
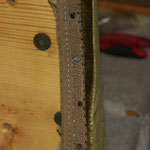
Upholstery of front and back seat done, see below.
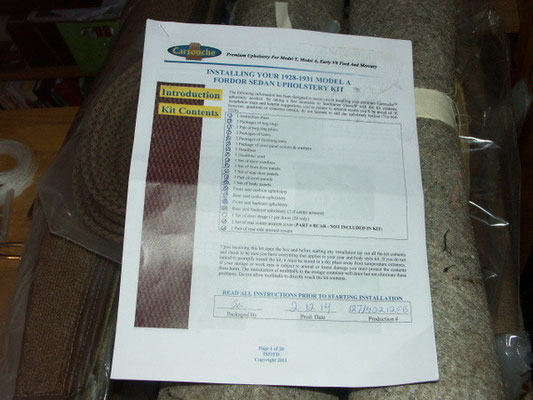
We bought a cartouche upholstery kit from Macs, which is very nice.
March 2015: Final assembly of the interior has begun. See the chronological order of the pictures with description at the bottom of this page.
We used a interior kit of cartouche. The overall fit was ok, but not perfect. The instructions that came with the kit ares very satisfiying, we followed these.
April 2015: Interior finished.


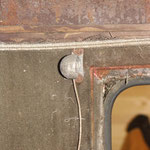


January 4th 2014: Woodgraining
Mahagony woodgraining is finished. Pictures see bottom of page.
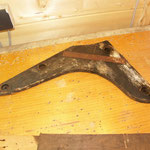
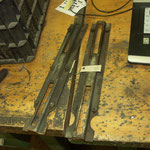
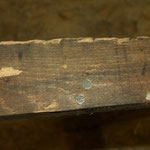
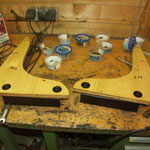
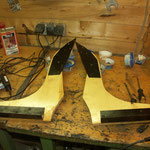
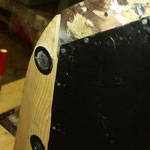
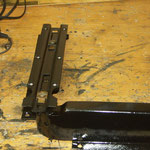
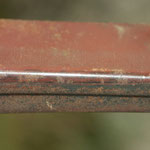
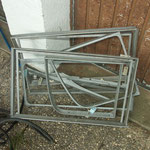
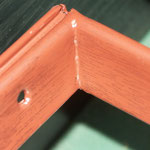
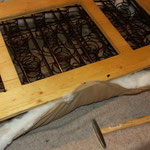
The woodgrain parts are the window frames, garnish mouldings below the frames the dash board and the moulding of the windscreen columns.
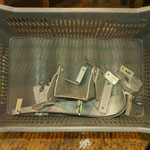
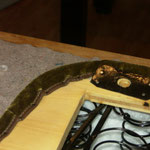
Of the mouldings below the windows the ones of the quarter windows were missing. We could by used ones at a very nice guy in the US. These have still the original woodgraining, a bit rough but still recognisable. We will keep these unrestored for future reference as we think these are rare. The others had still some woodgrianing at the edges, the rest was very rusty and somebody painted the parts black.
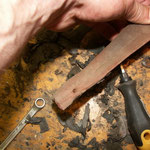
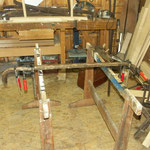
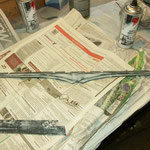
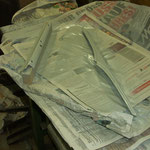
We bought a woodgraining set at www.woodgraining.com. We followed the procedure indicated below,
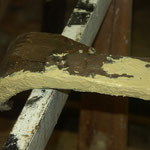
1. Sandblasting
2. Paint with primer "branths nitrofest"
3. Filling (all parts had very rusty surface).
4- Sanding (120)
4. Paint with spray filler
5. Sanding (320)
6. Paint with primer "branths nitrofest"
7. Sanding (400-600)
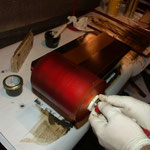
8. Paint with brown base colour.
9. Woodgraining using the roller and pattern from woodgraining.com
10. Apply a clear coat.
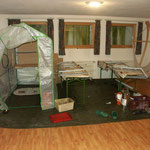
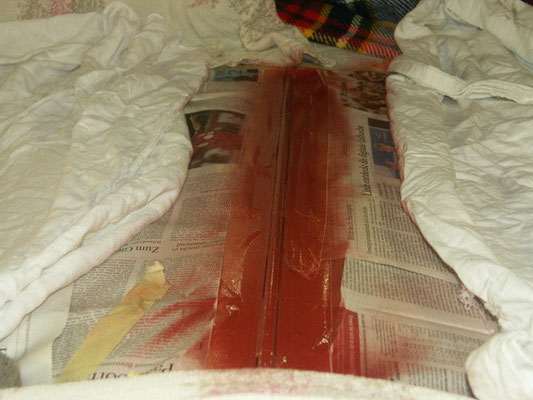
As in Germany it is winter, we made a spaying cabinet in the basement out of a small green house. The spaying was an adventure, as we have no ventilation and had to work with a gas mask and were entirely covered with paint!
Now some details to the woodgrain process.
We did not buy the paints offered by woodgraining.com, as these would have been very expensive to import from US, and as hazardous material would have to be shipped by surface transport by ship. There for we used material available in Germany.
As base colour we used RAL Nr. 8015 "kastanienbraun / chestnut brown"
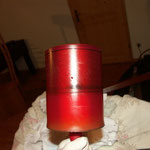
As Graining compund we used oil base paint as for a painter who works with canvas in colour "Vandyke brown". We diluted this until a thin consistency was reached with turpentine oil. We could not use any other paint as e.g. laquer, which dried to fast.
We did not apply any fixing or toning compound, but let dry the woodgraining for a week.
As blending paper we used normal Nr. 320 sand paper, but not straight cut but with a rippled pattern. With the straight cur we could not manage to create a rarely noticably blending area.
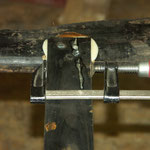
We woodgrainied the corners of the window frames as discribed using the rolling transverse to the fram to be able to role close to the corner and used the stamps.
As wood pattern we used stippled mahagony, but this seems to be finer than the original pattern.
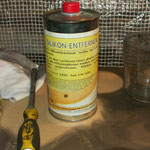
As a plate and roller cleaner we used silicon remover.
It looks quite simple, but we had to repeat the process very often to get a reasonable result.
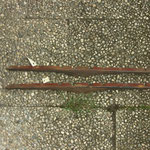
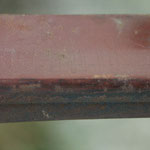
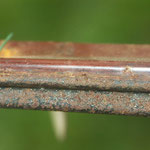


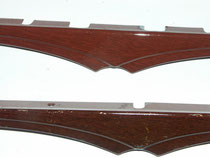
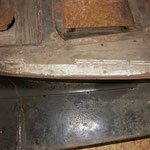
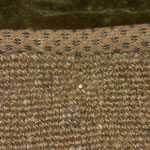
This pitcure shows what we think is original (below) and our try of mahagony woodgrain (above)


January 4th 2014
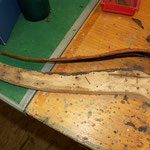
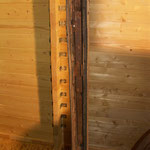
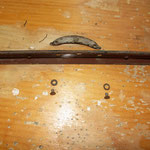
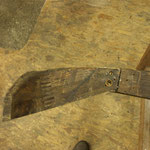
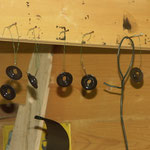
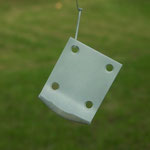
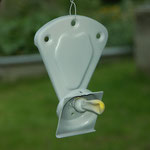
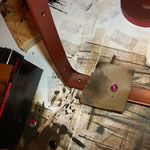
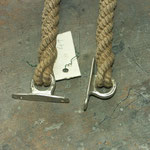
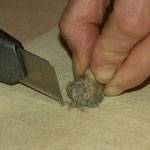
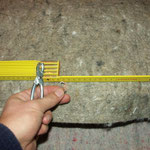
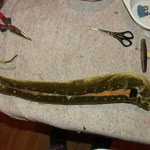
Assist straps: The original rope-like assist straps we found no mentioning of in any book or other source of original model A. So we reuse theses rare parts. Of course not as "of the assembly line".
The metal parts were just polished, the rope cleaned in an ultrasonic bath and fixed with a thread and slightly cut to equal lenght.


November 18th 2014
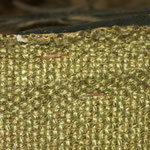
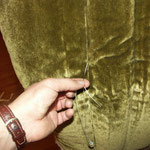
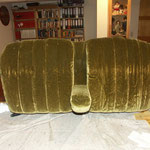
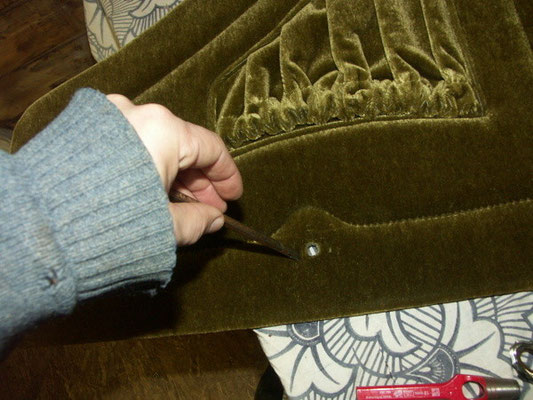
We bought a cartoche upholstery kit two years ago. (Thought we would be quicker.) It has been boxed since then. This lead to some wrinkles in the fabric, which we could not get out. I hope, it
will dissapear over time. The kit fits very well, just the front seat backrest cover made some problems, as the sides of the seat seem to be too large respective out of shape. I am not sure,
whether these are originals or at some stage these very modified. Bu finally we managed with some compromise: The seam is not on top, but on the outsides of the side wood pieces. There was no
front edge trim for the seat base in the kit, so we used a strip of the fabric to cover it. The rest went very well in accordance to the manual provided. But be aware of that you have to insert
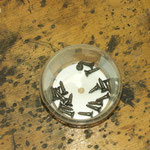
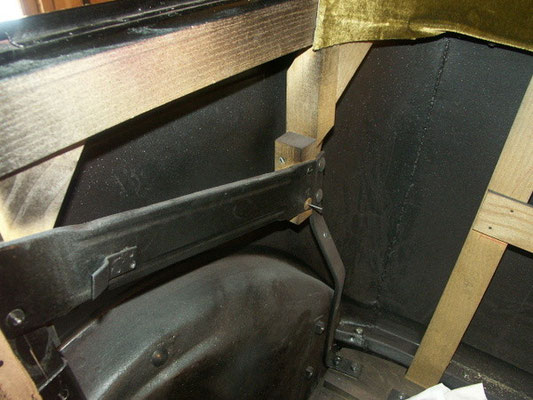
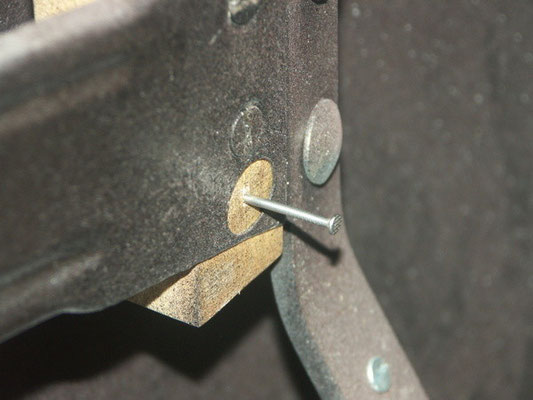
the bolts for the middle arm rest mechanism of the back seat before you attach the seat springs!


March 2015: Final assembly of the interior.
Dash board.


Pictures of the cartouche boxes and instuctions.


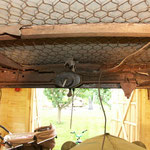
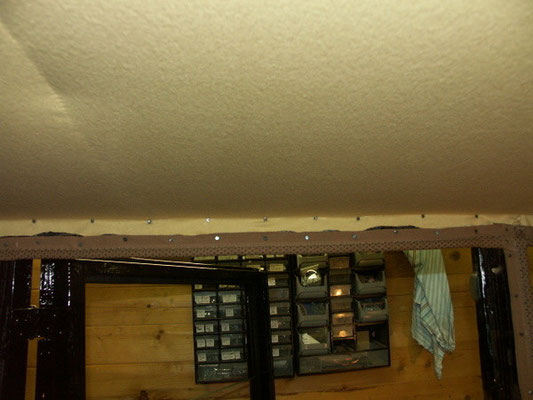
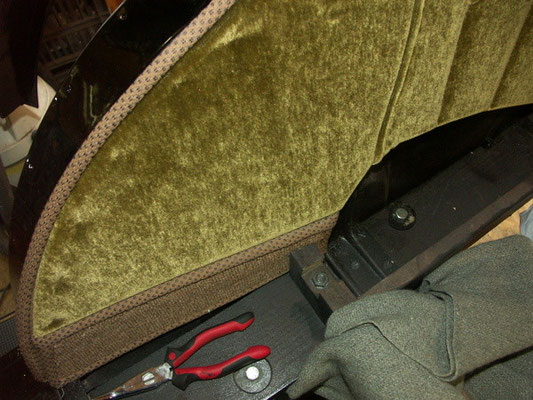
Headliner


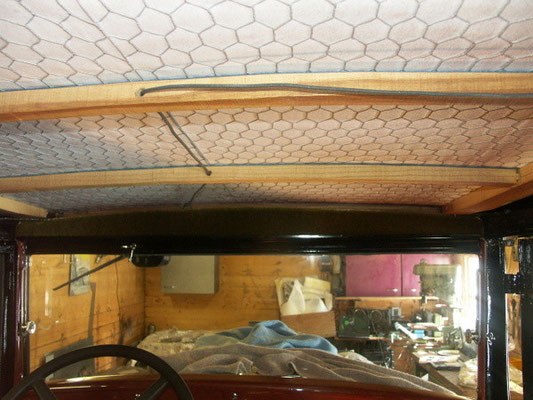


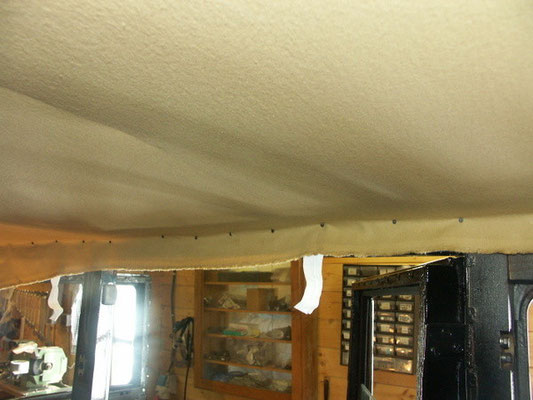


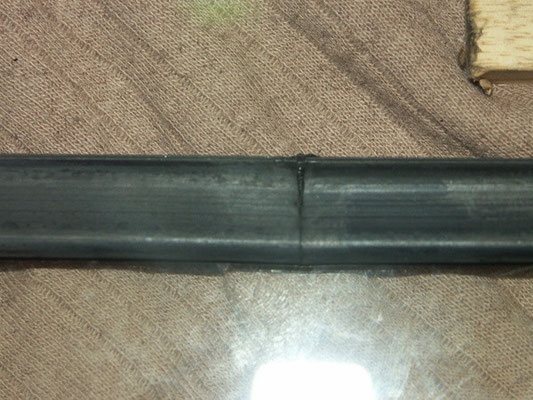
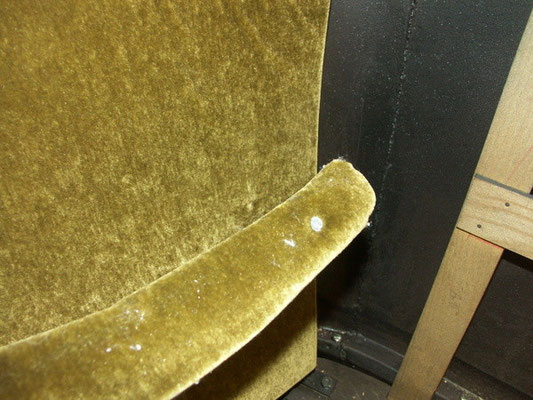
Windlace


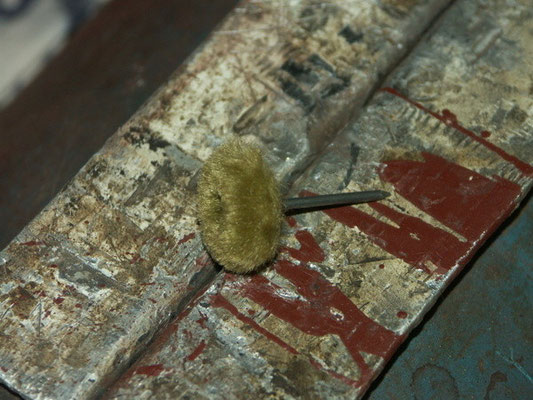
Dome light.

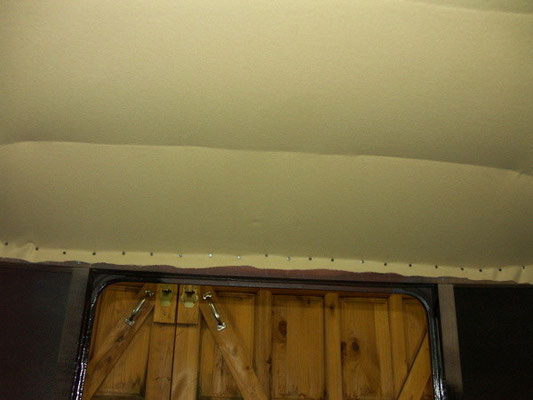


Headliner cord


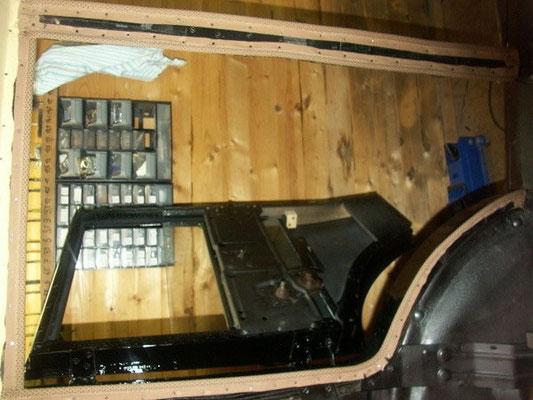
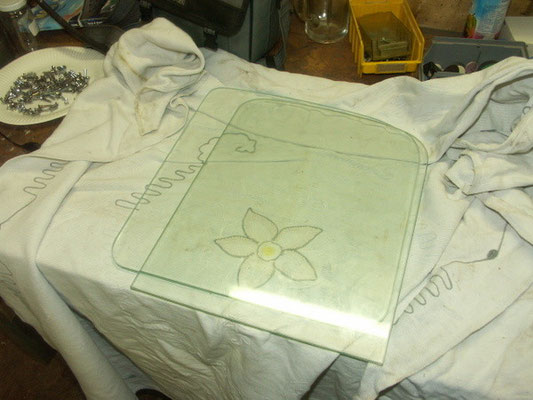
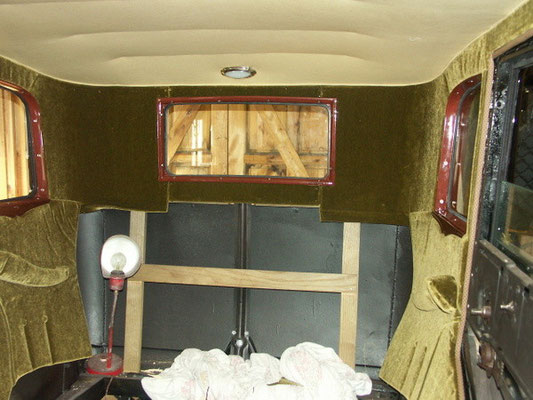
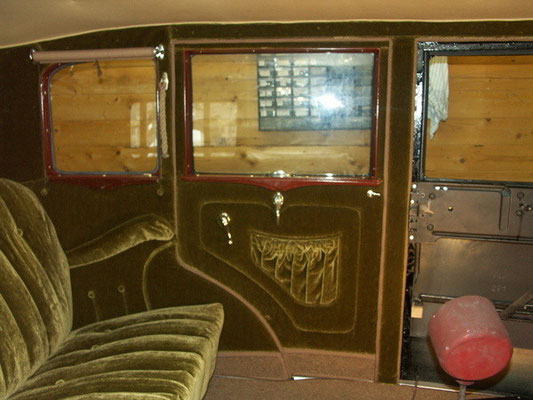
Rear panels and rear window.


Panels above doors, above windshield and rear view mirror.


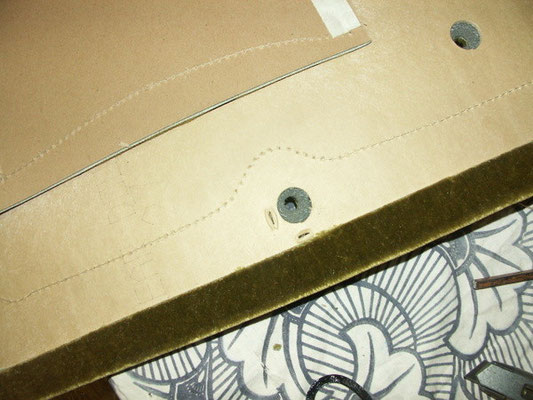
Panels below quarter windows and quarter windows.


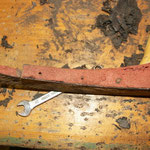
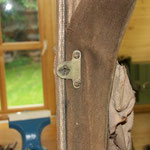
Panels on door posts, assist straps and window shades.


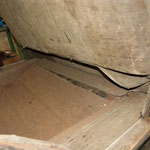
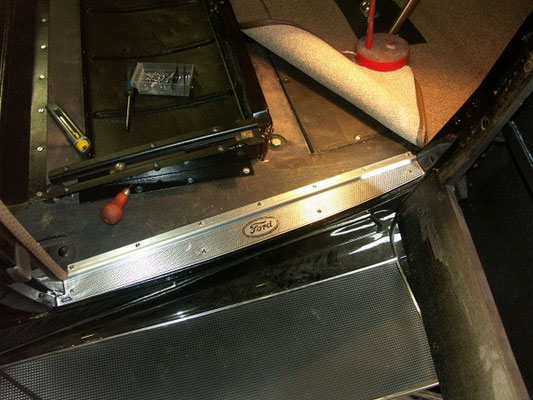
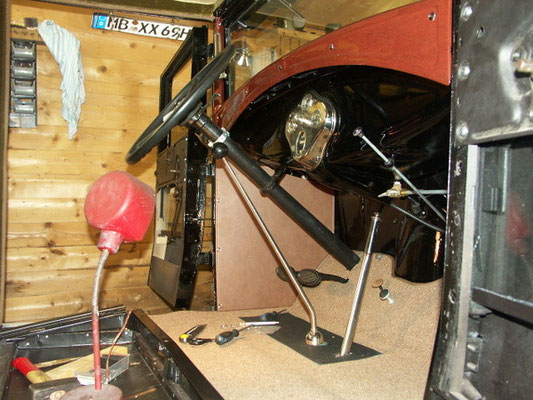
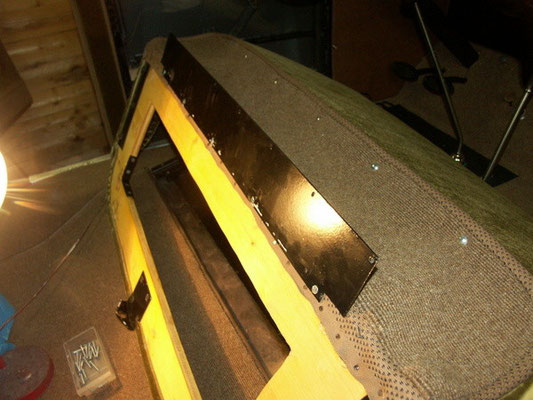
Floor pans and front seat riser


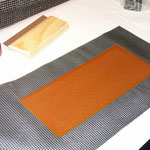
Carpet , cowl panels and sill plates.


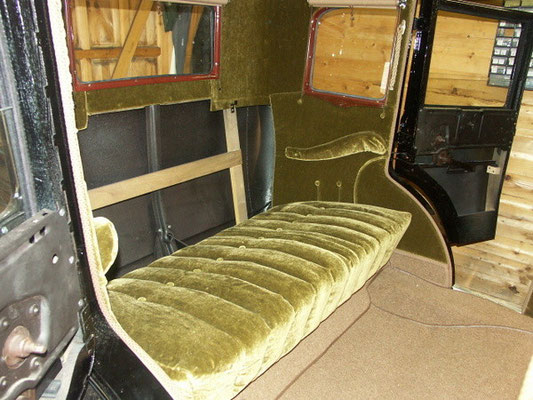
Rear seat.


April 2015
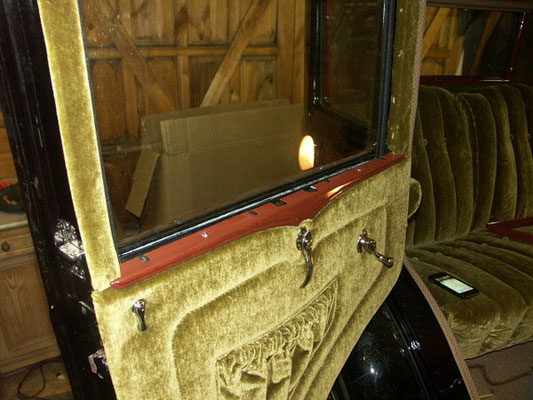
Rear door upholstery and window trim


Front seat.


Front doors.


Interior finished!


