Ford Model A -
Early 1930 Town Sedan
Restoration Project
Ford Model A -
Early 1930 Town Sedan
Restoration Project
Ford Model A
Early 1930 Town Sedan
Briggs Body
Assembled around April 1930 in
Asnieres, France
Engine number 278 6714
Located in Germany
Start of Restoration in 2006


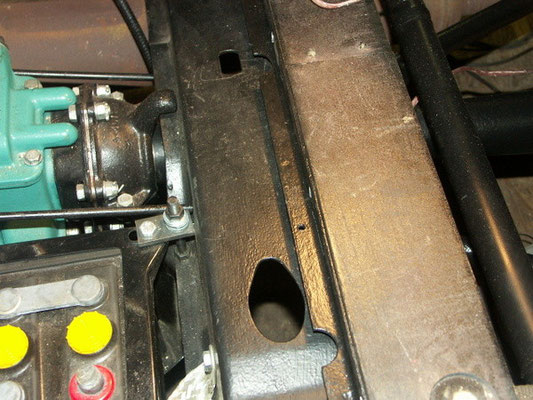
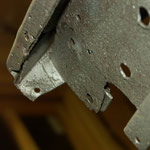
Cowl Section - Metal Body, Floorboards and Windshield
The cowl section was one of the most deteriorated parts. The bottom and sides were rusted through. The radiator rods went through the firwall in an accident, and the resulting holes were closed via very rustic welding. The firewall had some holes for unknown reason, and no hole for the gas line.
We bought a used firwall at ebay UK and the bottom and side parts at MACs.
Parts of the used firewall were then welded in the original one and bottom and sides replaced.
The top, were the header was attached, was broken and some parts were missing, which had to be replaced.
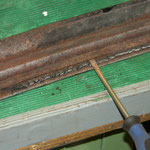
At the area of the belt lines some panels were welded on top of the original belt line, and under these the sheet metal was rusted through. This area was reconstructed on both sides.
The metal body of the cowl section is finished, awaits assembly and paint.
Floorboards and windshield see below
March 2015
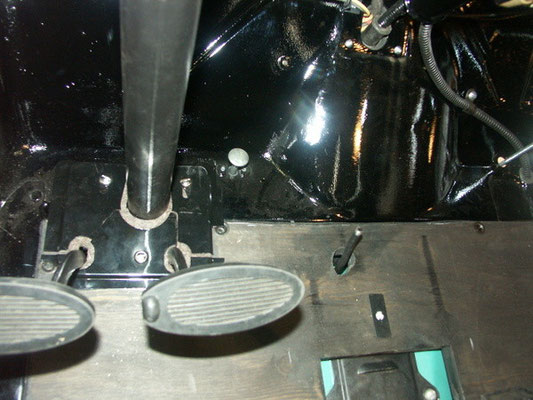
Windshield and front floorboards installed. Pictures on bottom of page.


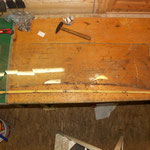
Floorboards:
These have been only dissassemled so far.


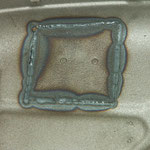
Windshield: Frame finished April 22nd 2012.


October 26th 2014
Windshield is finished.


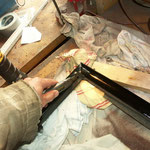


March 2015: The windshield is finally installed. We had some major problems with that, and it took much longer than we expected. In short: The windshield did not fit in the respective opening of the cowl, not with or without the rubber gasket. It would always hit the tank cap! This was due to two reasons: The overall distortion of the cowl section, which leads to a tank a little higher than normal and to the reproduction part of the panel above windshield.So we took out that panel and replaced it with a different one. That helped, butlstill not enough. At Fordbarn.com I read the foloowing solution: Cut the windhsield by 1/2 inch, glass and frame. We did that, but only 1 cm. The fit is now perfect and we could also use the rubber gasket.
There are some comments below some pictures


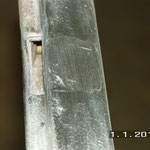
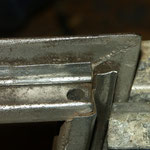
March 2015. Front Floorboards.
We shaped the new ones as the original ones, including the hole for the accelerator. The fit was almost perfect, but that "almost" made a lot of work. For further infomation look at the pictures,
some have text.